
Case Study • Custom Hardwood Staircase + Glass Railing
First, this Toronto project highlights a custom hardwood staircase with a clean glass railing. In addition, it shows the checks that keep details consistent—without pricing or unconfirmed claims.
Project overview
First, this case study focuses on one deliverable set: a custom hardwood staircase paired with a glass railing. Therefore, we only cover the stair + balustrade scope and the steps that keep installation predictable.
In addition, a wood stair must feel warm and precise at the same time. So, we treat geometry, finish, and rail alignment as one system.
- Project type: custom hardwood staircase + glass railing
- Location: Toronto, Canada
- Deliverables: shop drawings + specification notes + install guidance
- Scope note: no pricing and no unconfirmed items
Design goals
- Clean lines: consistent reveals and tidy junctions
- Comfort: safe, natural hand contact along the stair run
- Finish consistency: even tone across treads and stringers
- Install clarity: drawings that reduce on-site decisions
However, the “Apple-clean” look is not decoration. It comes from repeatable details and clear references.
How we deliver a hardwood stair + glass railing
1) Inputs checklist
First, we collect photos, rough dimensions, and finished floor levels. Then, we confirm edge conditions so the railing base detail is defined early.
2) Stair geometry + finish plan
Next, we align tread rhythm, riser consistency, and finish expectations. As a result, the stair reads calm and intentional from the entry view.
3) Glass railing layout
In addition, we plan panel layout and alignment references. Therefore, sightlines stay clean and joints feel balanced.
4) Shop drawings + install guidance
Finally, we issue shop drawings and a practical checklist for staging and final checks. In other words, the finish stays clean from delivery to handover.
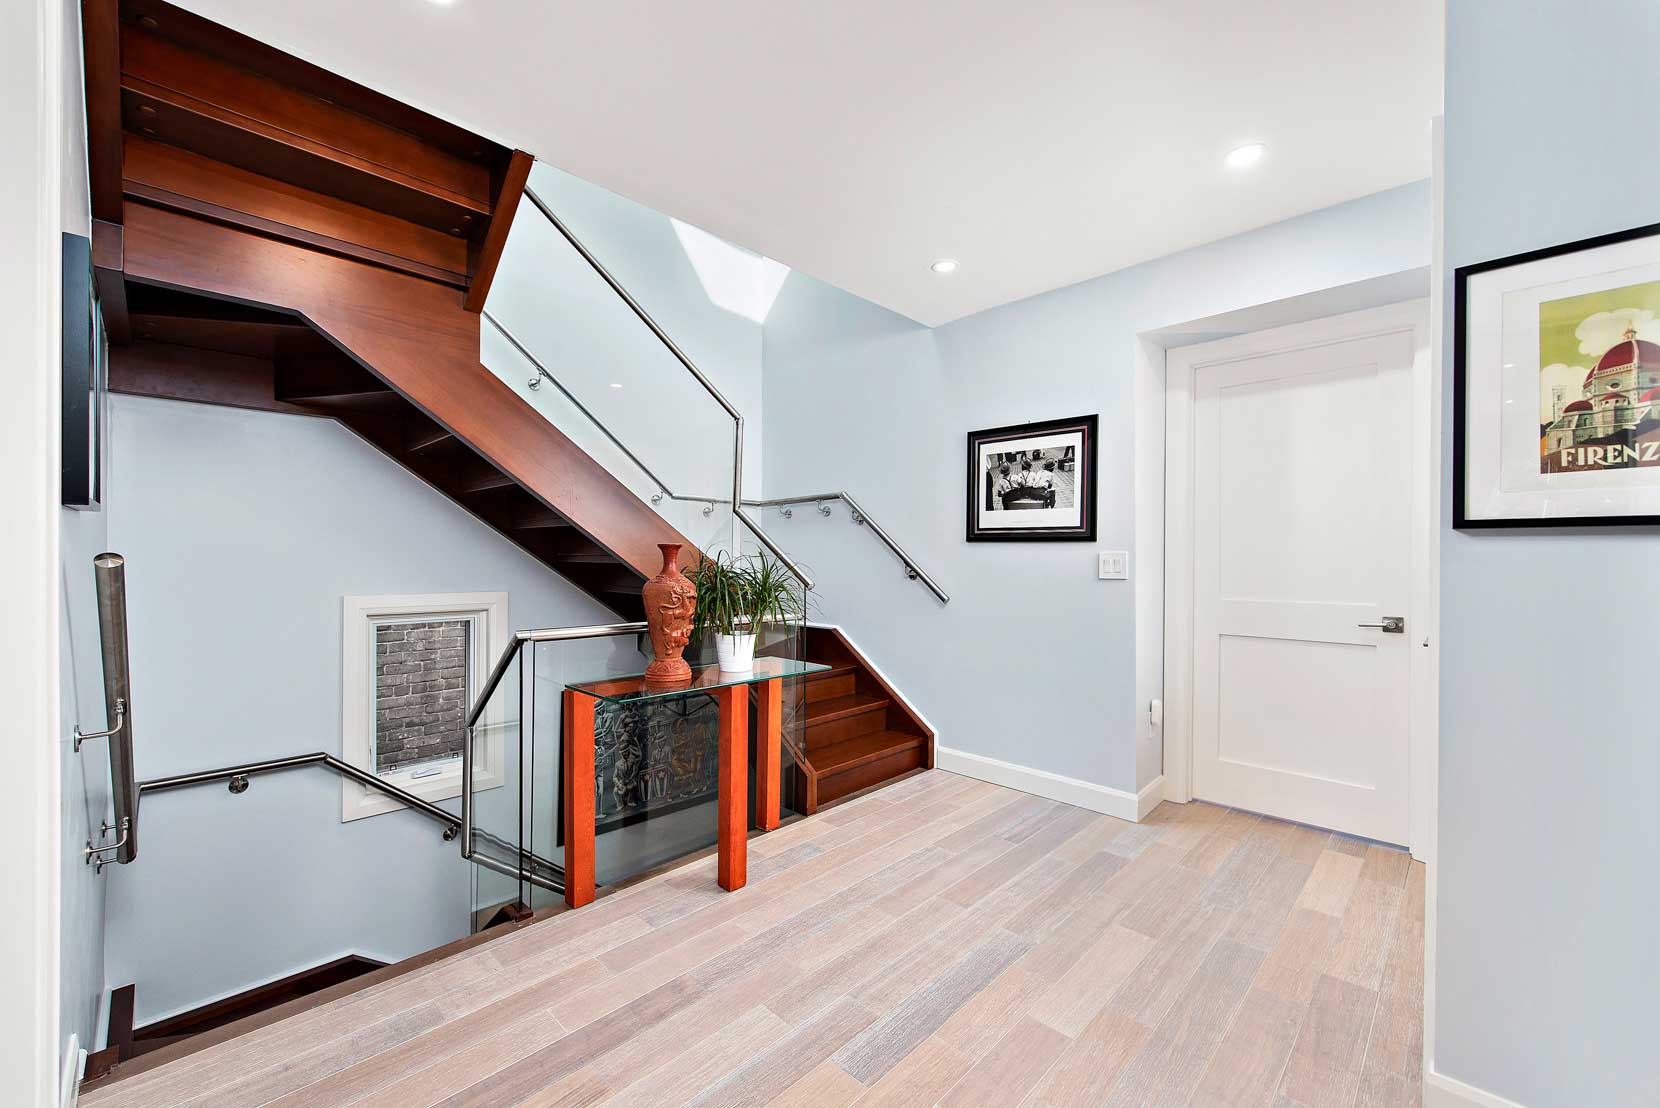
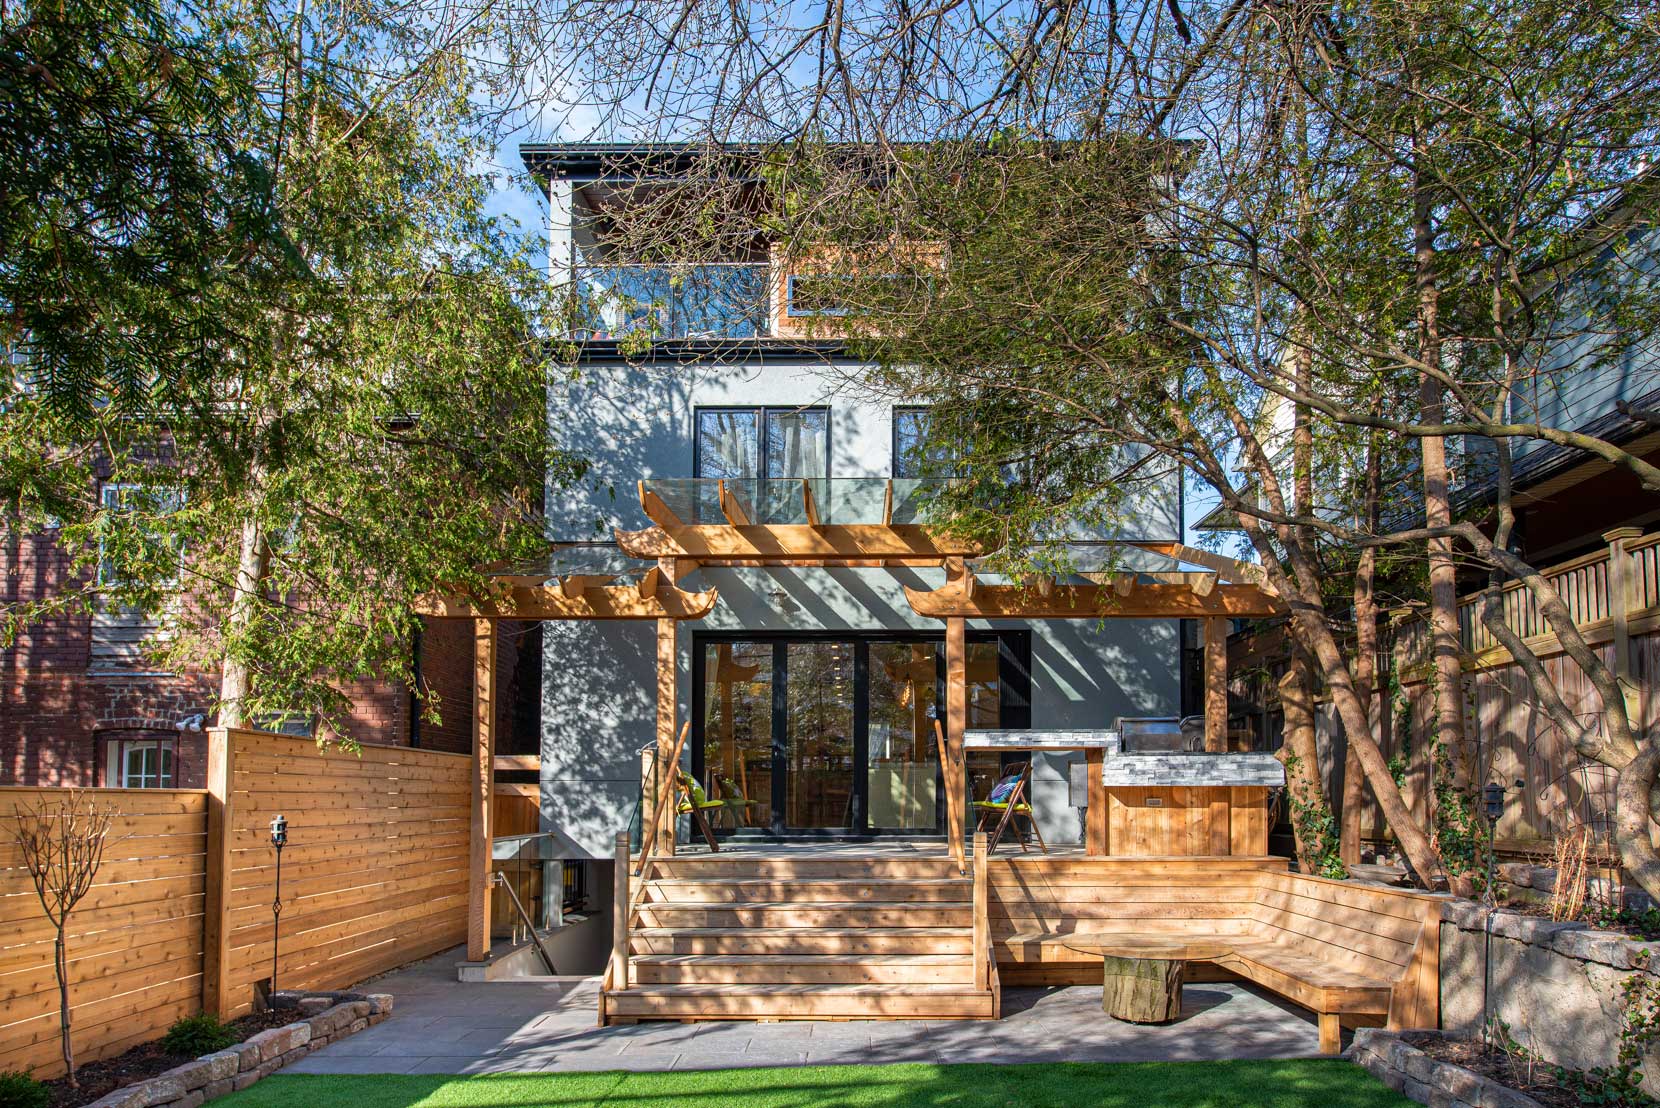
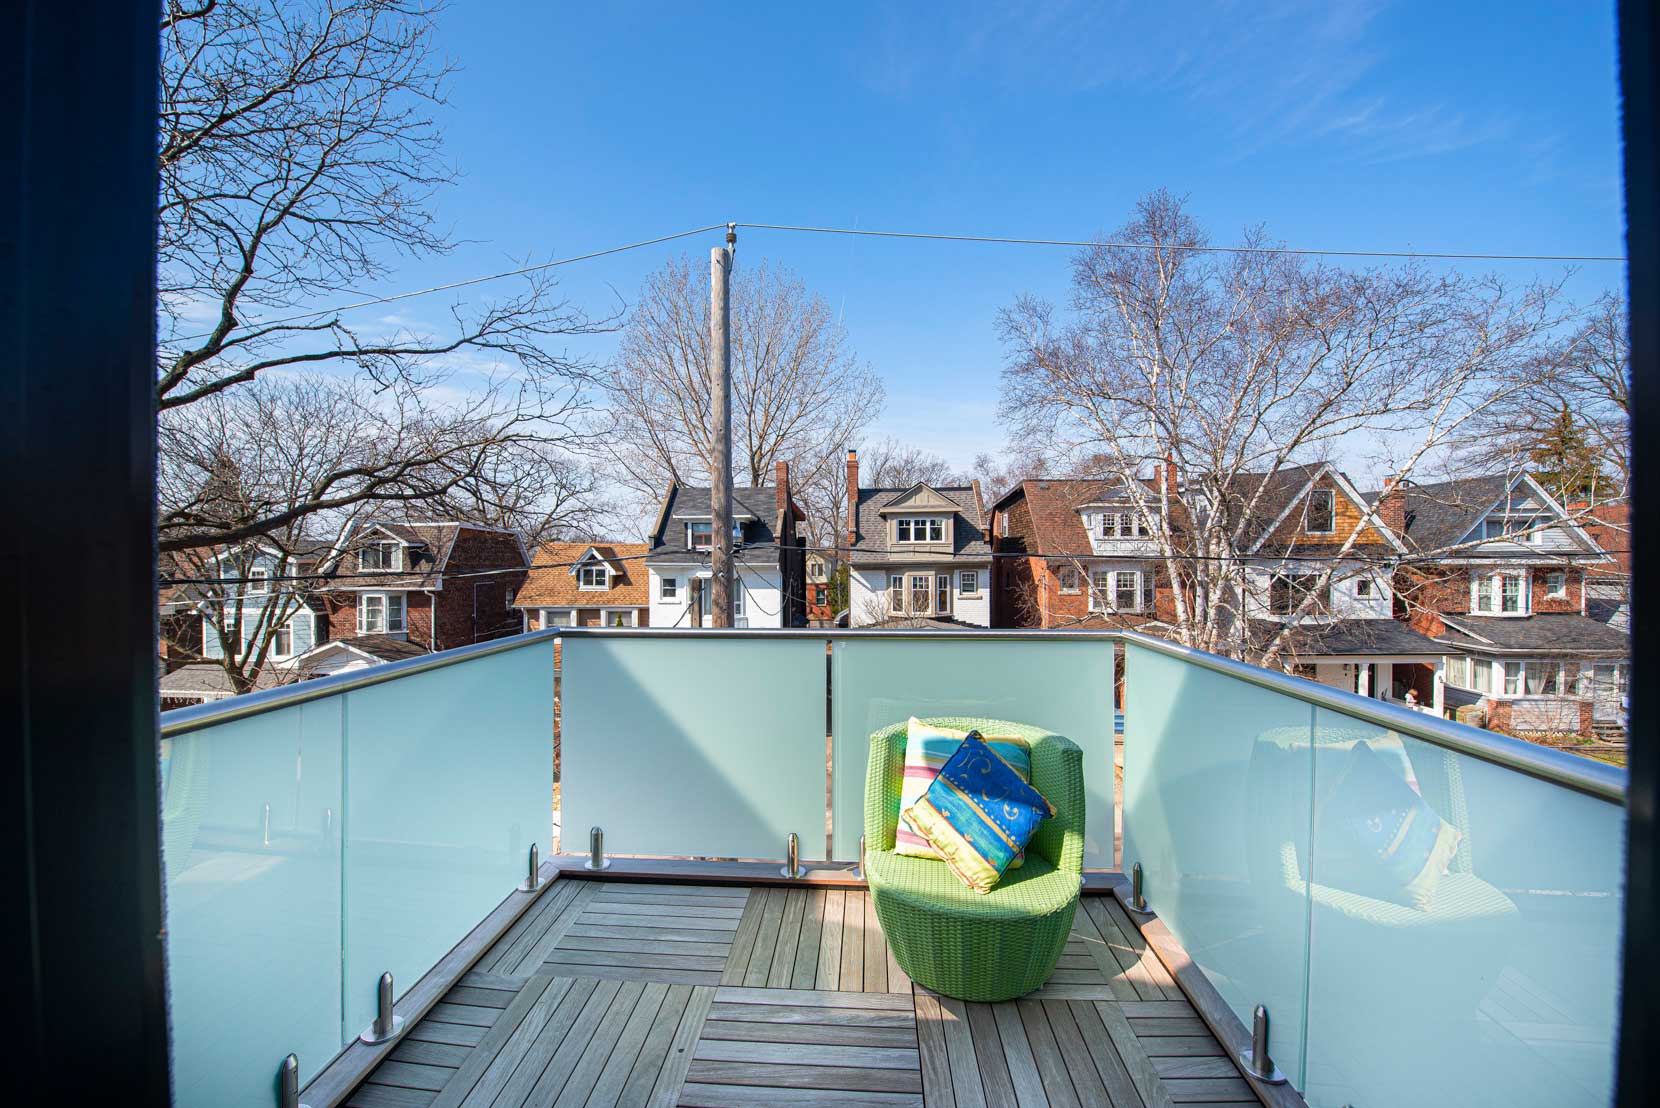
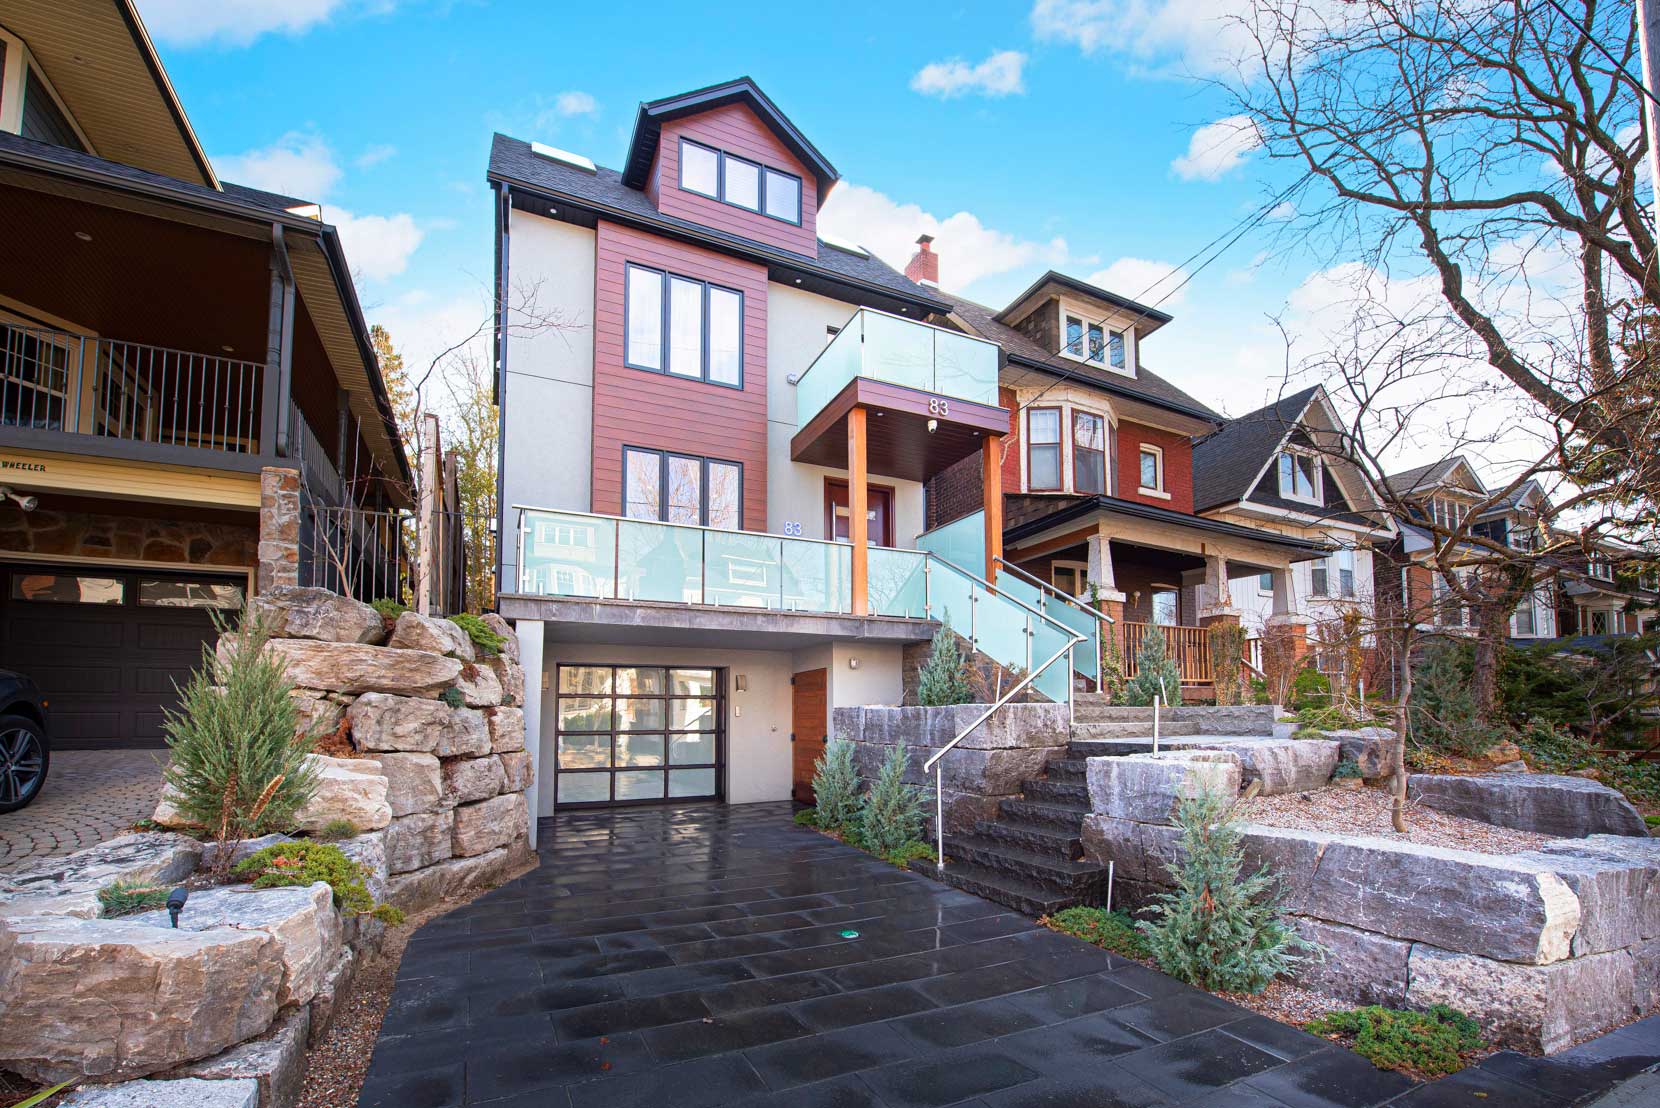
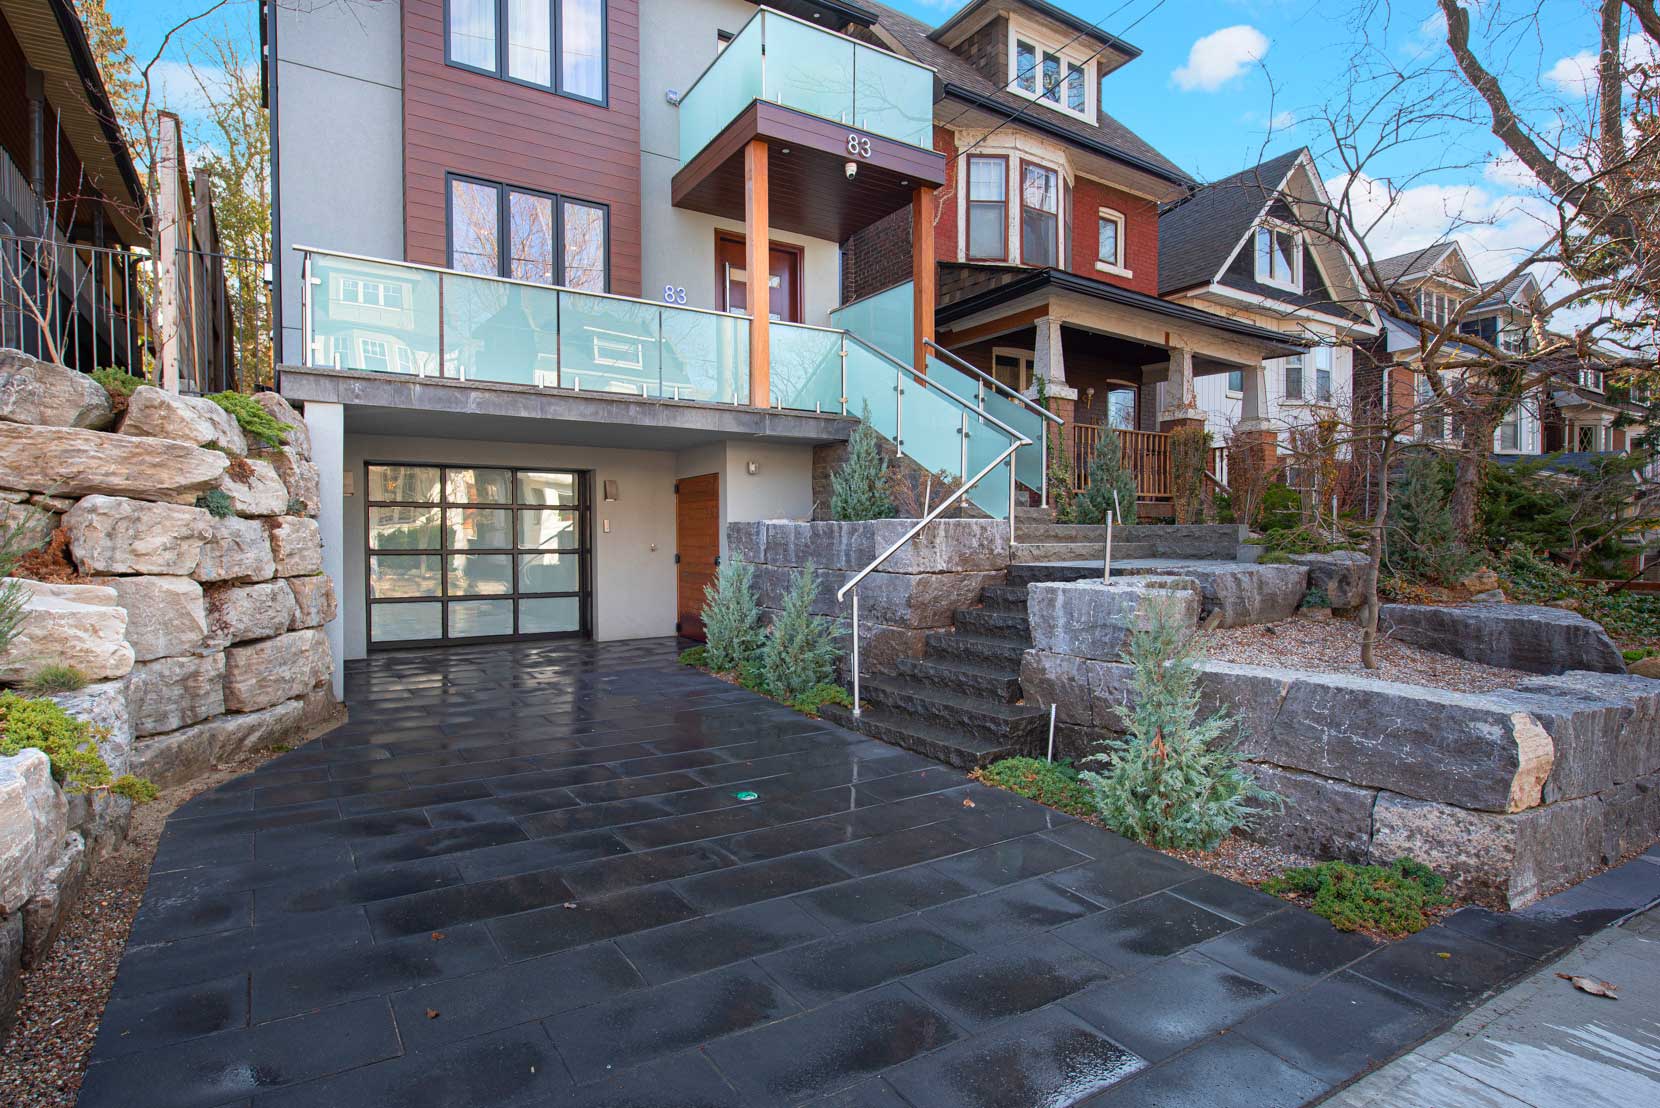
Project gallery
Next, here are real photos that show the stair finish, the overall look, and related site context. In addition, they help you see how clean lines are maintained across different areas.


Client feedback
That said, the best proof is daily use. Therefore, we keep feedback visible and use it to refine future details.
FAQ
What should I send to start drawings?
First, send photos and a rough plan. Then, add key dimensions and finished floor levels. As a result, drawings can be prepared faster and with fewer revisions.
Do you need final site confirmation?
Yes. However, final site conditions and local requirements should always be verified by qualified professionals before installation.
Request a Quote
Next, send your photos, rough dimensions, and the look you want. Then we’ll recommend a stair + railing approach and prepare drawings for approval.
Include: location, photos, rough dimensions, and your preferred style. Finally, tell us whether the glass is for the stair run, a landing edge, or both.