
Case Study • Staircase + Glass Railing
First, this guide shows how to integrate a modern staircase with a glass railing system. In addition, it highlights the base details that keep sightlines clean.
Project overview
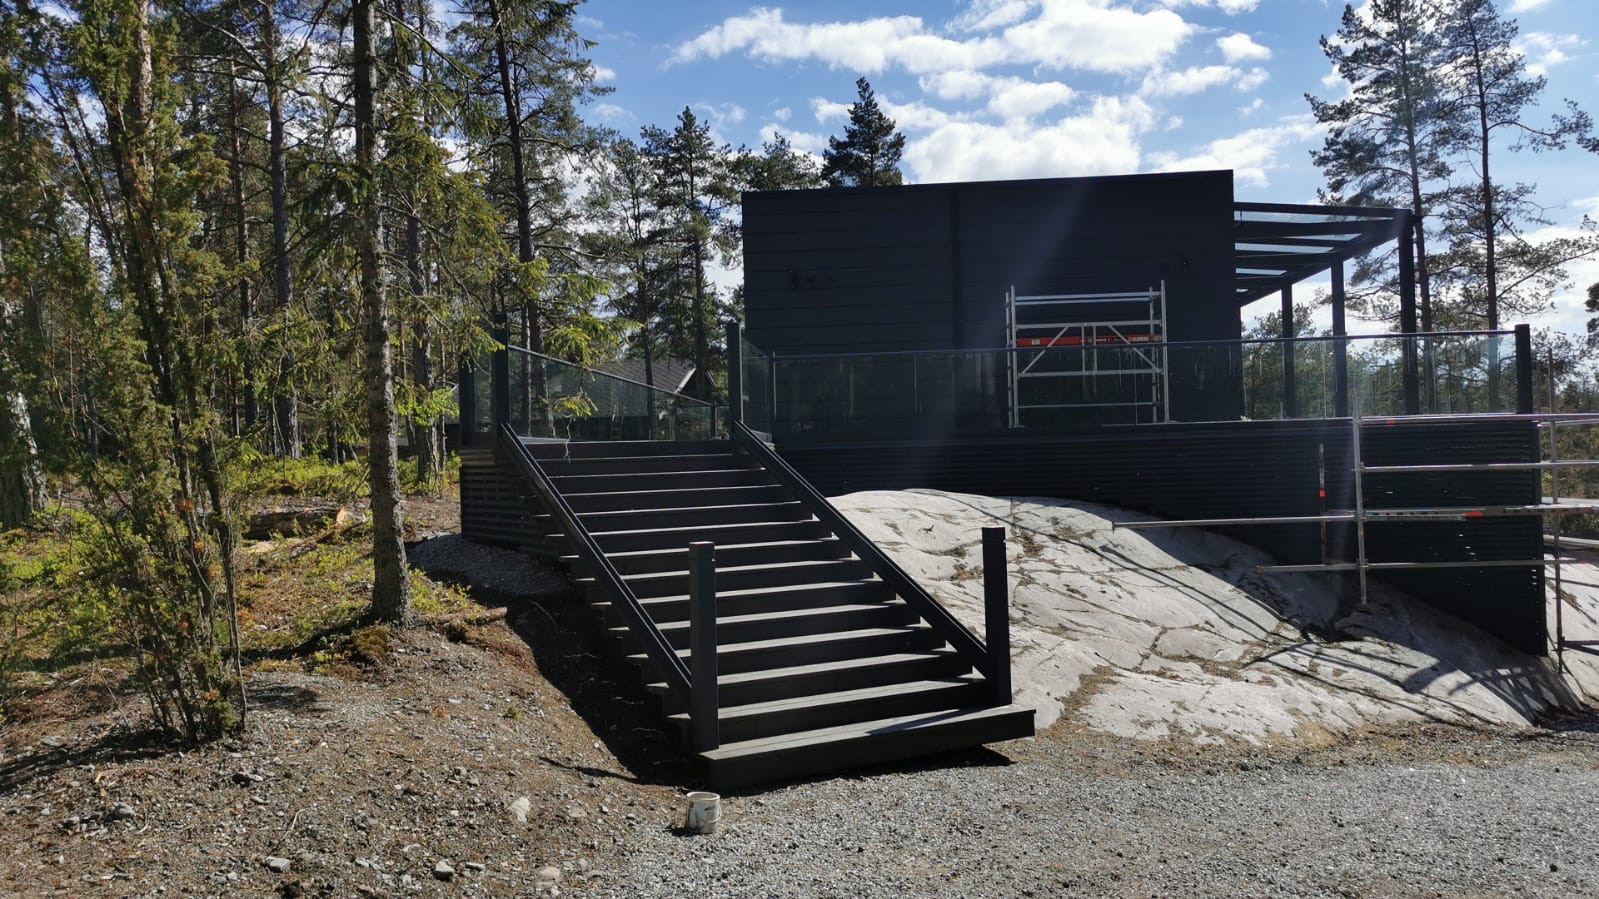
First, this case study focuses on one scope only: a modern interior staircase with an integrated glass railing system. Therefore, we do not discuss pricing or any items outside the stair + balustrade package.
In addition, the goal is simple. We want clean sightlines, comfortable hand contact, and details that feel consistent from the entry view to the landing.
- Project type: residential staircase + glass railing package
- Location: , Victoria, Australia
- Scope note: no pricing and no unconfirmed items
Design goals
- Open view: keep the space light and connected across levels
- Quiet detailing: consistent gaps, straight lines, and tidy junctions
- Everyday safety: a handrail strategy that feels natural on the stairs
- Install clarity: drawings and notes that reduce on-site guesswork
However, the “Apple-clean” look is not just visual. It depends on measurement inputs, fixing surfaces, and how the glass is supported at the base.
Installation video reference
Next, use this walkthrough as a reference for sequencing and site coordination. For example, it helps teams understand staging, protection, and final alignment checks.
What we deliver in a stair + glass package
1) Inputs checklist
First, we collect stair opening dimensions, finished floor levels, and photos of fixing surfaces. Then, we confirm any edge conditions that can affect the base channel and glass alignment.
2) Shop drawings
In addition, we provide shop drawings that show panel layout, line-of-sight alignment, and key reference points. As a result, installers can keep gaps consistent and corners cleaner.
3) Specification notes
Meanwhile, we include practical notes for glass handling, edge protection, and finishing expectations. Therefore, small but important details are not left to assumptions on site.
4) Installation guidance
Finally, we provide an install checklist for alignment, fastening verification, and final safety review. In other words, the project stays clean from delivery to handover.
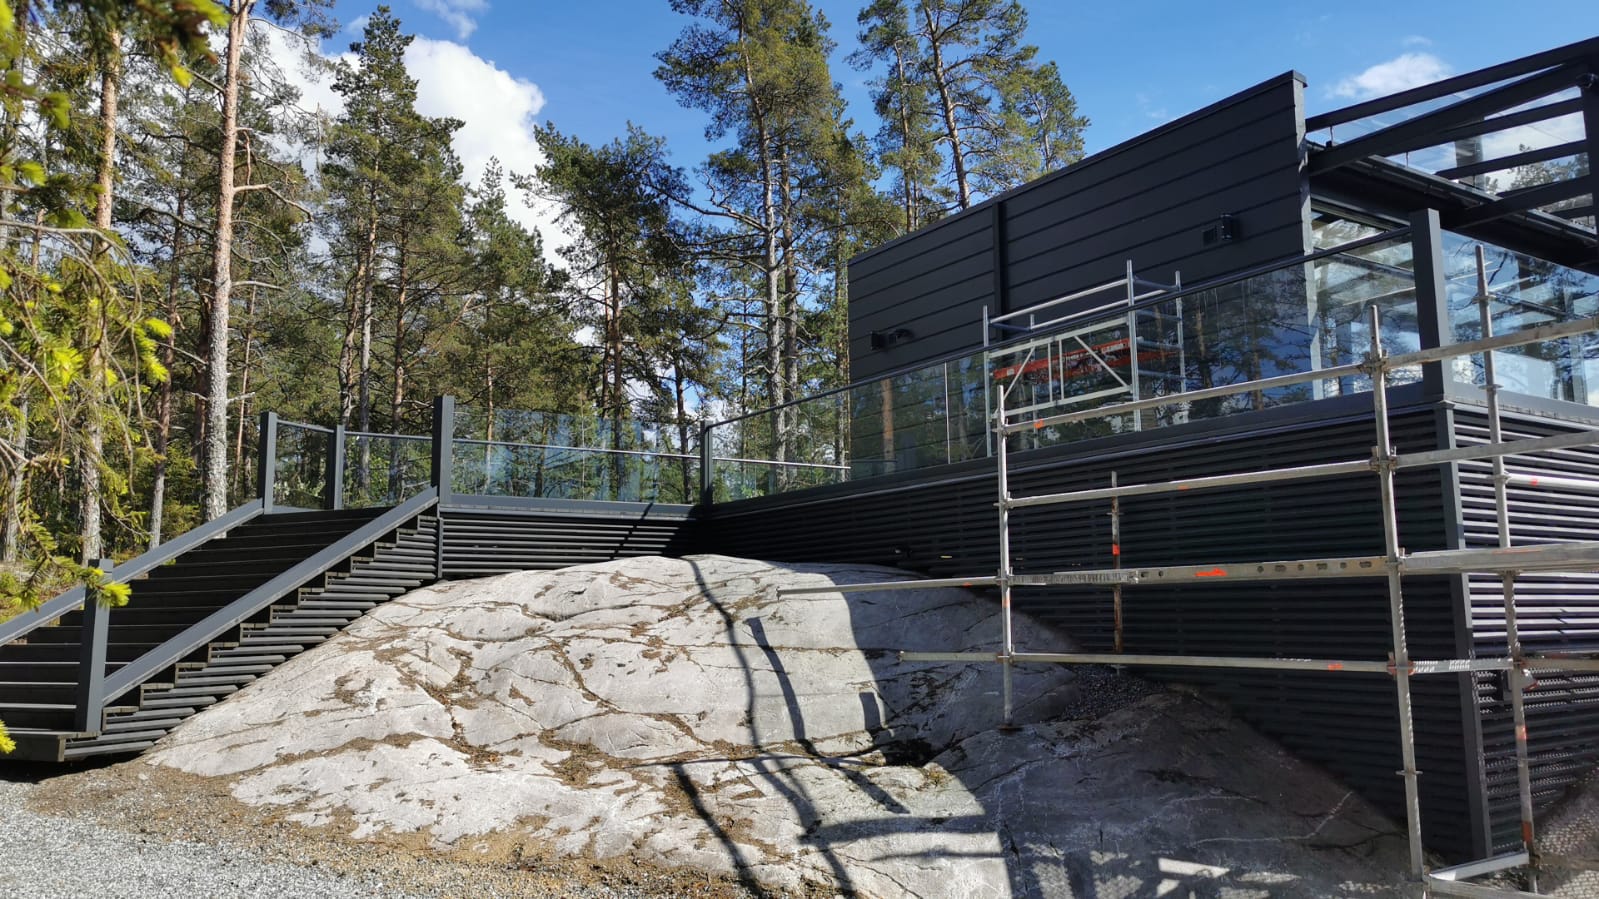
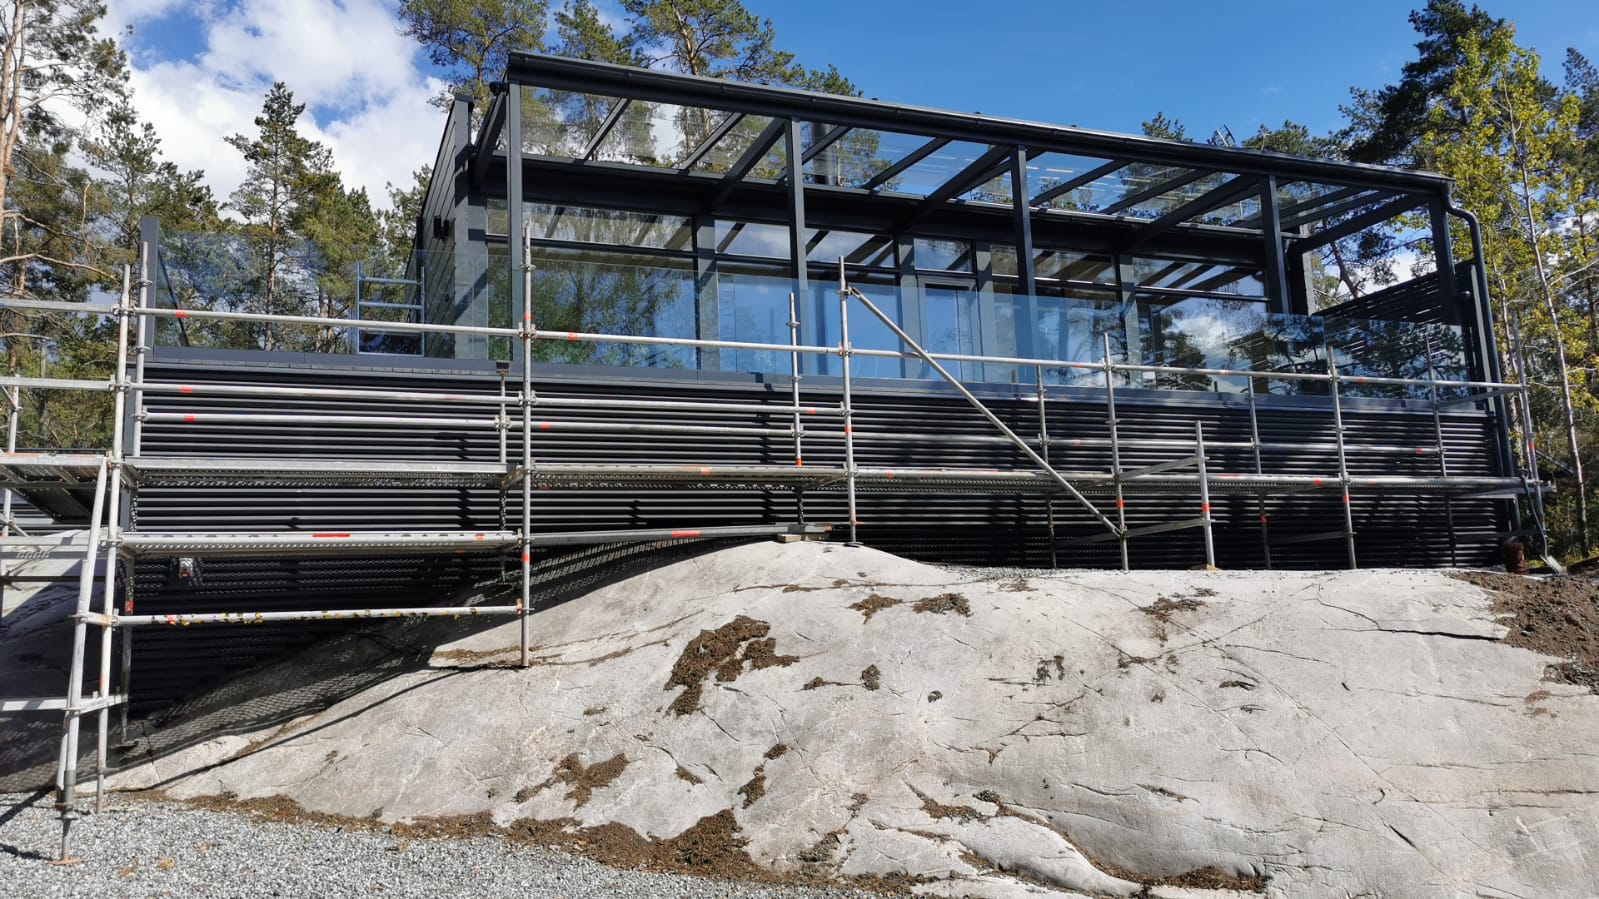
Grey U-channel base detail
The base detail is where most projects win or lose the “clean” look. So, we keep the channel lines straight, the reveals consistent, and the finishing tidy.
What to confirm before fabrication
- Fixing surface: concrete, steel, or timber—each needs the right anchoring plan
- Water and dust control: plan for cleaning and sealing around the channel
- Protection: avoid edge damage during transport and on-site staging
FAQ
What should I send for accurate drawings?
First, send photos of the stair zone and the fixing surfaces. Then, add rough dimensions and finished floor levels. As a result, the shop drawings can be prepared faster and with fewer revisions.
Do I need to confirm code requirements?
Yes. Local rules can differ by location and building type. Therefore, always confirm the final design with qualified professionals before installation.
How do I keep glass looking clean over time?
Use a simple, regular cleaning routine. In addition, keep fittings free of debris so dust and water do not collect around edges.
Request a Quote
Next, send your stair plan (or rough measurements), finished floor levels, and a few site photos. Then we’ll suggest a glass railing approach and prepare install-ready drawings.
Include: location, photos, rough dimensions, and the look you want. Finally, tell us whether the glass is for a stair run, a landing, or a balcony edge.